Creative 3D CR-10S Pro 3D Printer Automatic Leveling Settings
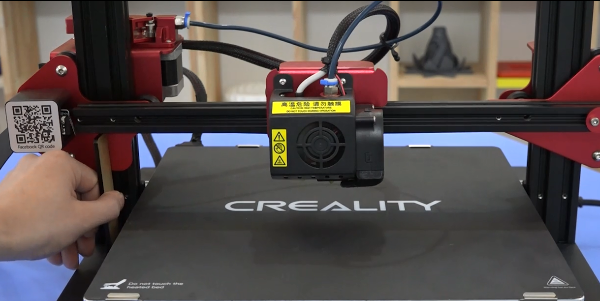
1. Slightly tighten the four hand-twisted nuts under the CR-10S Pro 3D printer platform.

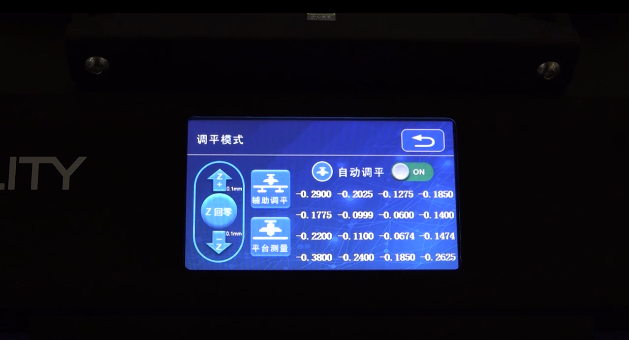
2. Click the setting option on the color HD screen of the printer → select the leveling mode.

3.The machine starts back to the origin.
4.Use the leveling sheet to measure whether the X-axis is balanced.
5. If the X-axis is too high from the adjustment plate, click Z-
6. If the X-axis is unbalanced on both sides, the adjustment method is as follows:
a. Click the setting option → select turn off stepper motor.

b.Press and hold the Z-axis coupling on one side without rotating, and rotate the Z-axis coupling on the other side to adjust the X-axis balance.

c. Check again whether the X-axis is adjusted and balanced.
7.After adjusting the X-axis balance, click Z to return to zero.
8.The machine returns to the origin, the nozzle is too far from the platform or pressed to the platform.
9.Click Z- or Z+ to adjust the distance between the nozzle and the platform.
10.Put a 0.2MM feeler gauge directly on the nozzle and the platform.

11. Adjust until the nozzle is pressed to the feeler gauge and rub a little.
12. Observe whether the indicator light of the automatic leveling device is on.
13. If the light is on, use a flat-blade screwdriver to tighten the screws.
14. Rotate counterclockwise until the light is off, and then turn clockwise to turn on the light.
15. If the light is off, turn the light on clockwise.
16. Click Z again to return to zero to check whether the distance between the nozzle and the platform is adjusted correctly.
17. Click on the auxiliary leveling.
18. Click the number 2.
19. Put a measuring ruler between the platform and the nozzle, and twist the nut under the platform to make the nozzle just press the measuring ruler.
20. Adjust the remaining three positions in turn in this way.
21. Click the number 1, check whether the distance between the nozzle and the platform is adjusted correctly, click the platform to measure, the machine will automatically
start 16-point measurement compensation leveling.
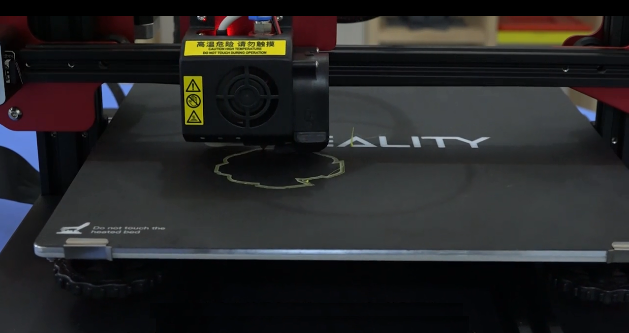
22.Load consumables, insert SD card, click print option → select the print file. Wait for the temperature to reach the right temperature, the machine starts printing, and when printing the borderline, you can slightly adjust the platform nut. The printed silk can be flat, which is good for sticking to the platform.